Add Narration to Your First YouTube Short Using CapCut PC’s TTS

Making YouTube Shorts is enjoyable, but it’s difficult for new creators to include voiceovers. Without voice, it’s challenging to direct people or tell them what’s going on in the video.
The voice makes a story simple to follow, and it keeps folks engaged. But not everyone is ready to utilize their own voice. That’s where the CapCut Desktop Video Editor comes in.
It provides a text-to-speech option built in that converts written text to crisp voiceover narration. This is easy to use and makes you sound like a pro without committing to anything being recorded.
Most features are free, but some of the more advanced options in CapCut cost money for a paid plan. Nonetheless, it’s a wonderful starting point.
Why Use AI TTS for Narration in YouTube Shorts
Not everyone is comfortable using their own voice while making videos. They might be shy, or they might not have a quiet room or a good microphone. That’s where text-to-speech comes in handy.
It lends your video a voice without recording anything. In the CapCut desktop video editor, you can select from a lot of voice types, such as male, female, peaceful, or machine-like. You can select the voice according to the tone of your video.
An AI voice generator feature, such as the one on CapCut PC, assists in accelerating your process. You do not need to record and re-record, or edit your voice repeatedly.
This is particularly good for shorts that are specifically done to educate, instruct, or motivate. It also assists if you create content in another language or need a consistent tone in all your videos.
Utilizing TTS on CapCut PC allows you to spend less time crafting your narrative rather than paying attention to voiceovers. It accelerates video production to be faster, smoother, and more versatile for all types of creators.
Advantages of Using CapCut PC’s TTS for YouTube Shorts
Adding a voice to your YouTube Shorts makes them easier to listen to. Your audience is better able to grasp the message when they hear it. Applying the TTS feature in the CapCut video editor for desktop allows you to do so without having to record anything. You can select a voice that suits the tone of your video: soft, bold, playful, or serious.
This is useful if you don’t have access to a mic or a room with no noise. You can also use TTS to convert your script or blog post into a narrated video. That is, you can produce more content without having to write it all over again. The tool processes quickly, and you don’t require the entire recording setup.
You can also enhance how your video appears by combining narration with utilities such as the AI video upscaler. This makes your video appear clear and sound crystal clear.
Remember, CapCut PC software is not entirely free. Certain voice choices and export options might require a paid plan. Nevertheless, even with basic utilities, you can create shorts that sound and appear fantastic.
Steps to Add Narration to Your First YouTube Short Using CapCut PC’s TTS
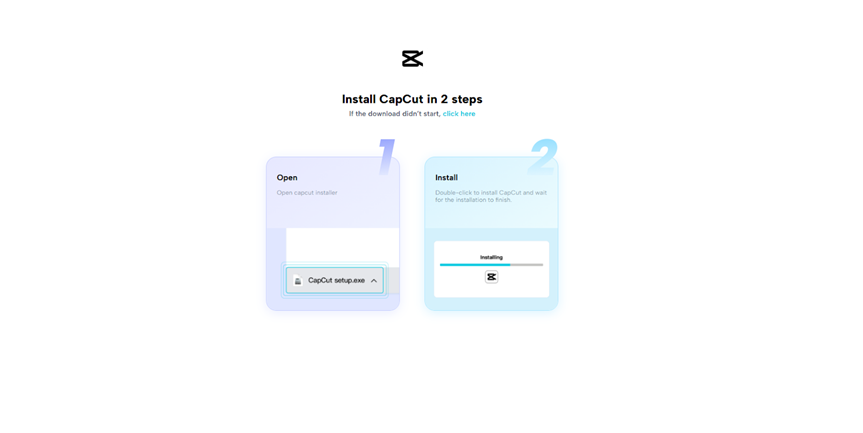
Step 1: Download and Install CapCut PC
To begin, visit the official CapCut website and download the CapCut desktop video editor for your computer. It works on both Windows and Mac. Once downloaded, open the file and follow the steps to install it.
You’ll need to sign up or log in to get started. The majority of the tools are free, but higher-end features like premium voice styles or export quality may require a paid plan.
Step 2: Import Your YouTube Short Video
Open the editor and tap the “Import” icon at the top to add your video file. Once it’s in your media library, drag the video onto the timeline at the bottom. You can shorten or clip any portion of the clip before adding the narration.

Step 3: Add Text and Utilize TTS Tool
Click the “Text” tab on the left and select “Add Text”. Input the narration you wish for the voice to utter. Subsequently, click on the text box you created. A drop-down menu will emerge on the right. There, you’ll be able to locate the “Text to speech” button. Click it.
Choose a voice from the list: male, female, or varying tones. Click Preview to see how it sounds. If it fits, click “Generate speech”. The audio will be on your timeline. Move it to sync with the visuals.
If it doesn’t sound correct, edit the text and reattempt it. The text to speech AI functionality in CapCut PC assists in keeping things uncomplicated and seamless.

Step 4: Fine-Tune and Preview
Click the voice track and change its volume, timing, or speed. You may also include background music, subtitles, or visual effects. Play the complete video from beginning to end. Check whether everything sounds and appears good.

Step 5: Export and Share
Click “Export” in the top right corner. Select the appropriate format and 9:16 vertical if it’s a Short. Choose the quality you prefer. Click “Export” again to save. Now you can upload it directly to your YouTube or other platforms.

Conclusion
Synchronizing narration using the CapCut desktop video editor is an intelligent move to make your shorts understandable and more interactive. Its TTS feature lets you obtain high-quality audio with ease, even without using your own voice.
This allows new artists to better convey their message and connect with more people. No mic is required, nor a soundproof room. Simply type out your script and let the voice do the rest.
Some things, such as voice type or export options, might require a paid upgrade. Nevertheless, it’s a good starting point. Experiment with one short and try out some voice styles. Give your Shorts a true voice, use CapCut PC’s TTS today and make your videos pop.