How to Sand Your Drywall Like a Pro
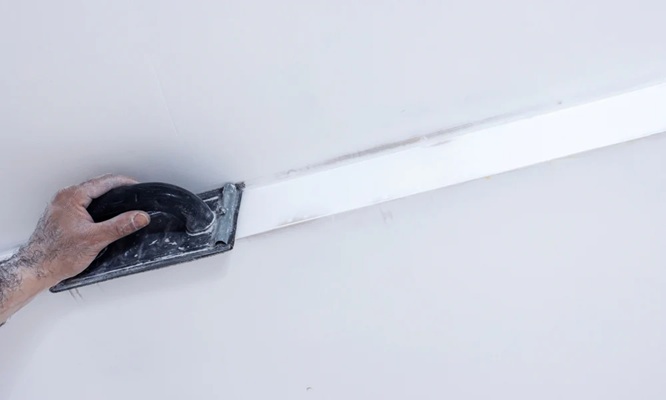
Sanding drywall is one of those steps that separates an average-looking wall from a professional-quality finish. You can apply joint compound perfectly, but if sanding isn’t done right, seams, ridges, and scratches will show through paint. That’s why learning the correct sanding process—and using the right materials—matters just as much as taping or mudding.
Before you even pick up a sanding block, you need to understand one critical detail: what grit sandpaper for drywall should be used at each stage. Using the wrong grit can damage the paper face of the drywall or leave deep scratches that are hard to hide later. Resources like Drywall Savvy often emphasize that sanding is not about brute force—it’s about control, patience, and technique.
In this guide, we’ll break down how to sand drywall like a pro, step by step, so you can achieve a smooth, paint-ready surface without overworking the wall.
Why Proper Drywall Sanding Matters
Drywall sanding isn’t just about making the wall look smooth to the touch. It helps blend seams, feather joint compound edges, and eliminate tool marks that become very visible once paint or primer is applied.
Poor sanding can lead to:
- Visible seams under paint
- Raised edges around joints
- Swirl marks and scratches
- Extra coats of mud to fix mistakes
Professional finishers know that sanding lightly and strategically saves time and delivers better results. That’s why understanding what grit sandpaper for drywall is essential before you begin.
Tools You’ll Need to Sand Drywall Properly
Before sanding, gather the right tools to make the job easier and cleaner:
- Sanding block or hand sander
- Pole sander (for ceilings and tall walls)
- Sandpaper sheets or sanding screens
- Fine-grit sanding sponge (for corners)
- Dust mask or respirator
- Safety glasses
- Work light or handheld inspection light
Using the right tools reduces fatigue and helps you maintain even pressure across the surface.
Choosing the Right Sandpaper Grit
One of the most common drywall mistakes is starting with sandpaper that’s too coarse. While it may seem faster, coarse grit can tear the drywall paper or expose the tape underneath.
Here’s a simple professional approach:
- 100–120 grit: Light leveling of heavy ridges (use sparingly)
- 120–150 grit: Main sanding for joints and seams
- 180–220 grit: Final smoothing before primer
You don’t need extreme pressure—let the sandpaper do the work. Always sand in a controlled, even motion, and check your progress frequently under good lighting.
Step-by-Step: How to Sand Drywall Like a Pro
1. Let the Joint Compound Fully Dry
Never sand wet or tacky compound. It will gum up your sandpaper and ruin the surface. Dry compound sands into fine powder; wet mud smears.
2. Start With Light Pressure
Begin sanding seams with a sanding block or pole sander using light, even strokes. Focus on knocking down high spots, not removing all the compound.
3. Feather the Edges
Blend the edges of the joint compound into the surrounding drywall. Avoid sanding directly over the tape—this is where most beginners cause damage.
4. Check Your Work With Angled Light
Use a work light held close to the wall. Shadows will reveal imperfections you can’t see straight on.
5. Switch to Finer Grit for Final Pass
Once seams look flat, switch to finer grit to remove small scratches and leave a uniform surface.
How to Sand Corners and Tight Areas
Corners require a gentler approach. Use a fine-grit sanding sponge or folded sandpaper to avoid cutting through the tape. Sand one side at a time, keeping strokes controlled and minimal.
For inside corners, avoid aggressive sanding. A few light passes are usually enough to smooth ridges without damaging the joint.
Common Drywall Sanding Mistakes to Avoid
- Oversanding and exposing tape
- Using grit that’s too coarse
- Pressing too hard
- Skipping inspection lighting
- Sanding without safety gear
Professional results come from restraint, not speed.
Final Thoughts
Sanding drywall like a pro is about precision, not power. With the right tools, proper lighting, and a clear understanding of what grit sandpaper for drywall to use, you can achieve smooth, seamless walls that look flawless after painting.
If you’re serious about improving your drywall finishing skills, learning from trusted resources like Drywall Savvy can help you avoid costly mistakes and refine your technique over time.